
When a car horn fuse keeps blowing, the fuse is usually doing its job: opening the circuit before wiring or components overheat. Installing a larger fuse is not a repair. The correct approach is to determine whether the circuit has a short, a damaged horn, an unsuitable replacement load, incorrect wiring, or a relay fault.
Start With the Moment the Fuse Opens
The timing of the failure is useful evidence. A fuse that blows as soon as it is installed can indicate a direct short to ground on an always-powered section. A fuse that opens only when the horn button is pressed points toward the switched load path, horn units, connector, or relay contacts. An intermittent failure over bumps or in wet weather may suggest chafed insulation, a loose terminal, water intrusion, or wiring that moves against bodywork.
Check the vehicle wiring diagram before testing. Some systems switch power, others switch ground, and modern vehicles may use a body control module. Do not probe steering-wheel airbag circuits without the manufacturer’s service procedure.
Isolate the Circuit in a Logical Order
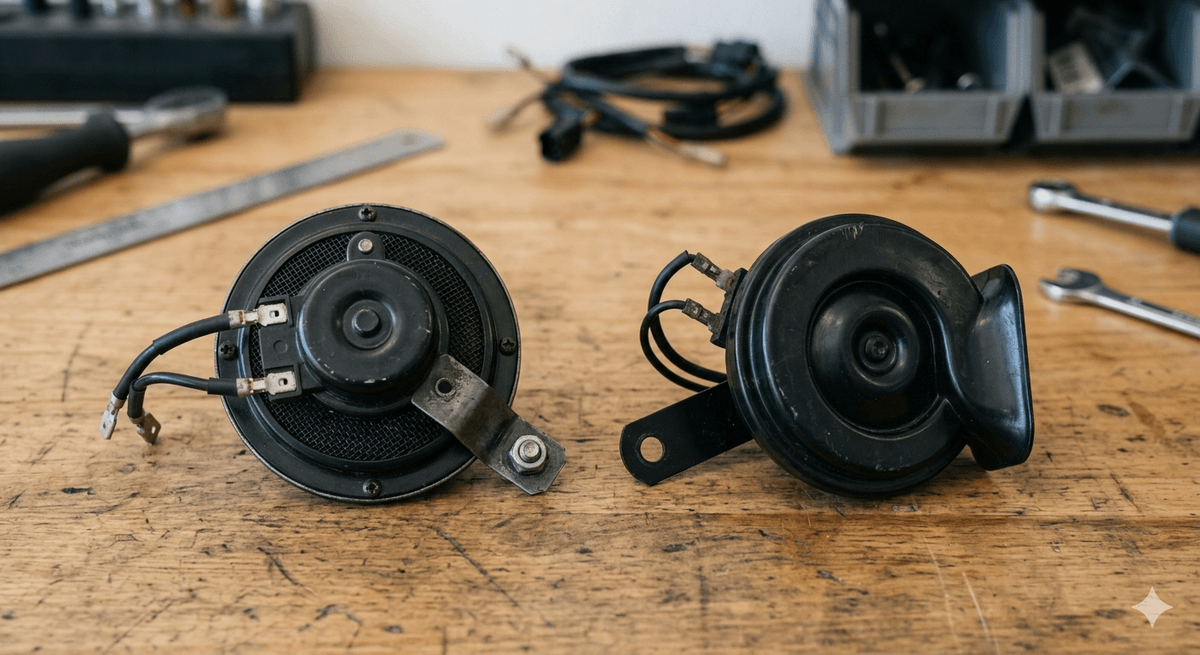
- Confirm the specified fuse rating and that the correct fuse position is being used.
- Inspect the horn harness for crushed insulation, exposed copper, melted connectors, water and poor repairs.
- Disconnect the horn or horn pair, install the correct fuse, and operate the control briefly.
- If the fuse survives, test each horn and its branch wiring separately with properly fused equipment.
- If the fuse still opens with the horns disconnected, inspect the relay, supply wire and controlled circuit according to the diagram.
Use a multimeter for voltage and resistance checks only in the correct mode. Never place a meter set to current directly across battery voltage. Current measurement must follow the meter’s rating, lead connection, fuse protection, and the vehicle service procedure; a current clamp is often safer for horn-load diagnosis.
Replacement Current Can Expose a Marginal Circuit
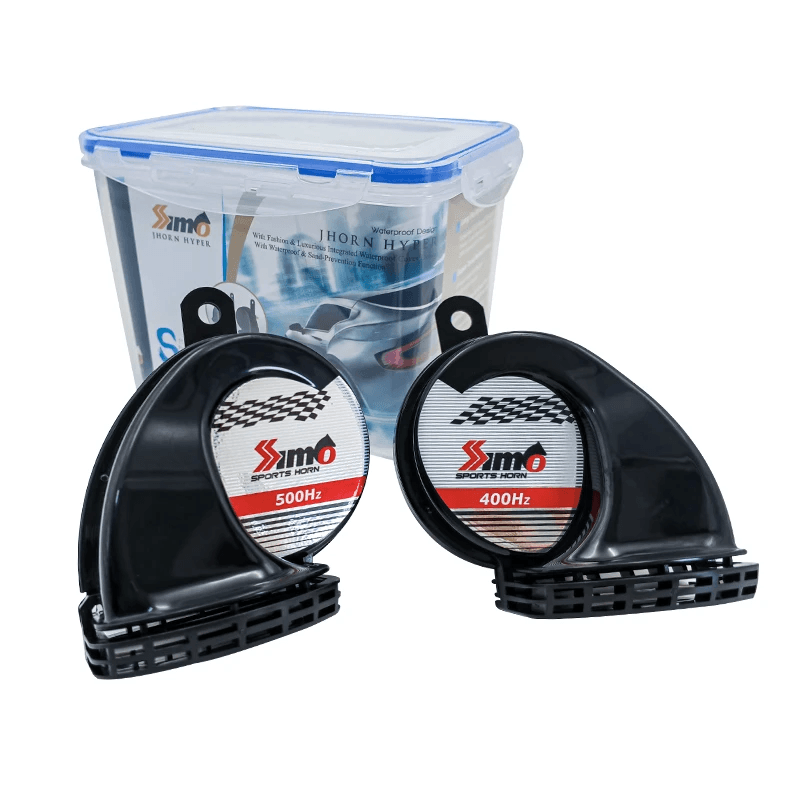
A replacement horn must be evaluated as an electrical load, not only by sound. The OSUN ODL-151 disc horn has a visible marking of 12V and 3A. Reviewed images of OSUN ODL-161 and ODL-162 snail horns show 12V and 4A per marked unit. Two horns connected together can therefore create a different circuit demand from a single original horn. Buyers should verify the exact sample, not assume all variants share these values.
HELLA’s published retrofit example illustrates the principle: its two replacement horns total 66 watts and approximately 11 amps in a 12V system, so the workshop checks wire capacity, relay and fuse before reuse. That example is not a fuse recommendation for another product or vehicle. Fuse size must protect the actual wire and circuit while accommodating the specified load behavior.
Common Causes Worth Checking
- A horn coil or internal contact shorting as it operates.
- A power wire rubbing through near the grille, radiator support or bracket.
- Reversed or incorrect aftermarket wiring that creates a direct short.
- Two horns added to a circuit designed for one lower-current unit.
- A pinched connector, water-filled adapter or damaged relay socket.
- An underspecified fuse installed by mistake, or an unrelated device added to the circuit.
Specify the Repair, Not Just the Part
After locating the fault, repair wiring with automotive-grade materials, secure it away from heat and sharp edges, and restore weather protection. Confirm battery voltage, operating current, voltage drop and fuse behavior under load. If a relay harness is needed, it should have suitable wire cross-section, terminal quality, relay capacity, fuse placement and grounding.
OSUN’s multi-fit horn concept offers multiple adapters and copper-terminal positioning, but buyers still need the actual connector list and current data for the target vehicle. Send circuit and fitment requirements through the OSUN contact page before approving samples.