
Car horn inspection requirements depend on the country, vehicle class, model year, and inspection scheme. Most roadworthiness checks focus on a few practical outcomes: the horn must be present where required, operate from its control, be secure, and produce a suitable audible warning. The exact permitted sound character and approval evidence can differ, so owners and workshops should consult the current local manual rather than rely on a generic checklist alone.
What Inspectors Commonly Notice First
In Great Britain’s current MOT guidance for cars and passenger vehicles, the horn is part of the “other equipment” inspection. Government guidance says it is checked for proper operation and suitability for the vehicle. Inspection logic may consider a non-working horn, an insecure or defective control, or an unsuitable sound a defect. Other jurisdictions may define different categories and procedures.
Before presenting the vehicle, carry out these basic checks:
- Press the normal horn control and confirm immediate, consistent operation.
- Listen for a steady warning sound rather than intermittent clicking or a weak rasp.
- Confirm the switch and steering-wheel pad are secure and return normally.
- Inspect the horn body and bracket for looseness, cracks, or severe corrosion.
- Check that wiring is insulated, terminals are tight, and no improvised joints are exposed.
- Verify that an aftermarket tone is permitted under the local inspection rules.
Use the Symptom to Narrow the Fault
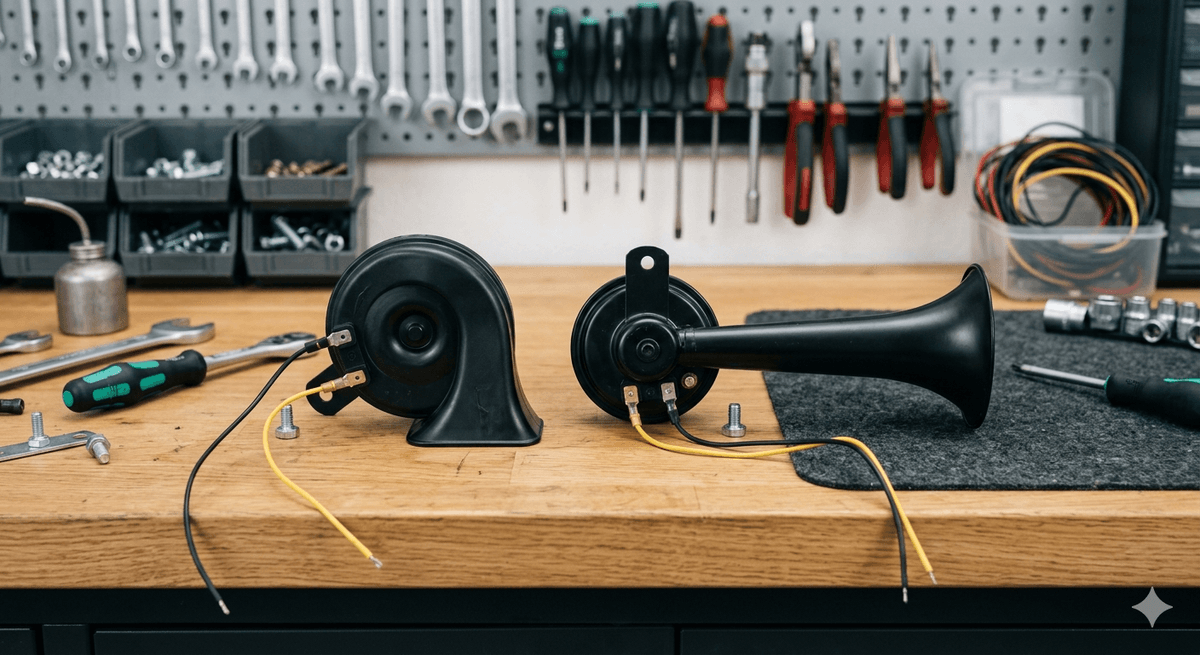
If there is no sound, check the fuse, relay, power supply, ground, switch circuit, and horn in a logical sequence. Replacing the horn immediately can waste time when the actual problem is upstream. A click from the relay with no horn output may indicate a failed horn, poor ground, voltage drop, or damaged power wiring. A weak sound can result from low system voltage, high-resistance terminals, water entry, a loose mount, or a partially failed unit.
If the fuse repeatedly blows, stop replacing it with the same result and never install a larger fuse without confirming the circuit design. Look for shorted wiring, a seized horn, incorrect parallel wiring, or an aftermarket horn whose current demand exceeds the original circuit’s capacity.
Replacement Fit Is Part of a Reliable Repair
A replacement must fit physically and electrically. The compact OSUN ODL-151 disc horn has reviewed drawing dimensions of about 76 mm across and 47 mm deep, with an 8.5 mm mounting hole. Its visible marking indicates 12V and 3A. These details can be compared with available space, bracket geometry, connector, fuse and wiring capacity.
Where connector compatibility is the main problem, OSUN’s multi-fit car horn concept uses multiple adapters and copper terminals to simplify connection across a broader vehicle range. Buyers should request the actual adapter list for their vehicle parc; broad coverage wording should not be treated as universal fitment.
A Better Workshop Handover

After repair, record the replacement model, rated voltage, current specification, connector used, fuse rating, and test result. Route cables away from sharp edges and hot or moving components. Point snail-horn openings and drainage paths according to the manufacturer’s installation guidance, and make sure the bracket does not allow contact with the bodywork.
For fleet and distributor programs, a simple incoming test and vehicle application list reduce repeat failures. Ask the supplier for drawings, terminal details, sample markings, applicable approvals, and change-control information. OSUN’s product range provides disc, snail, sports, and multi-fit options; the correct choice should follow the inspection rules and electrical design of the target vehicle.