
Car horns are commonly marketed with values around 100dB or higher, but a number without test conditions is incomplete. Sound pressure changes with microphone distance, supply voltage, orientation, acoustic reflections, background noise and whether the horn is tested alone or installed behind a grille. The useful question is not only “How loud is it?” but “How, where and on which sample was it measured?”
Why Two Correct Readings Can Be Different
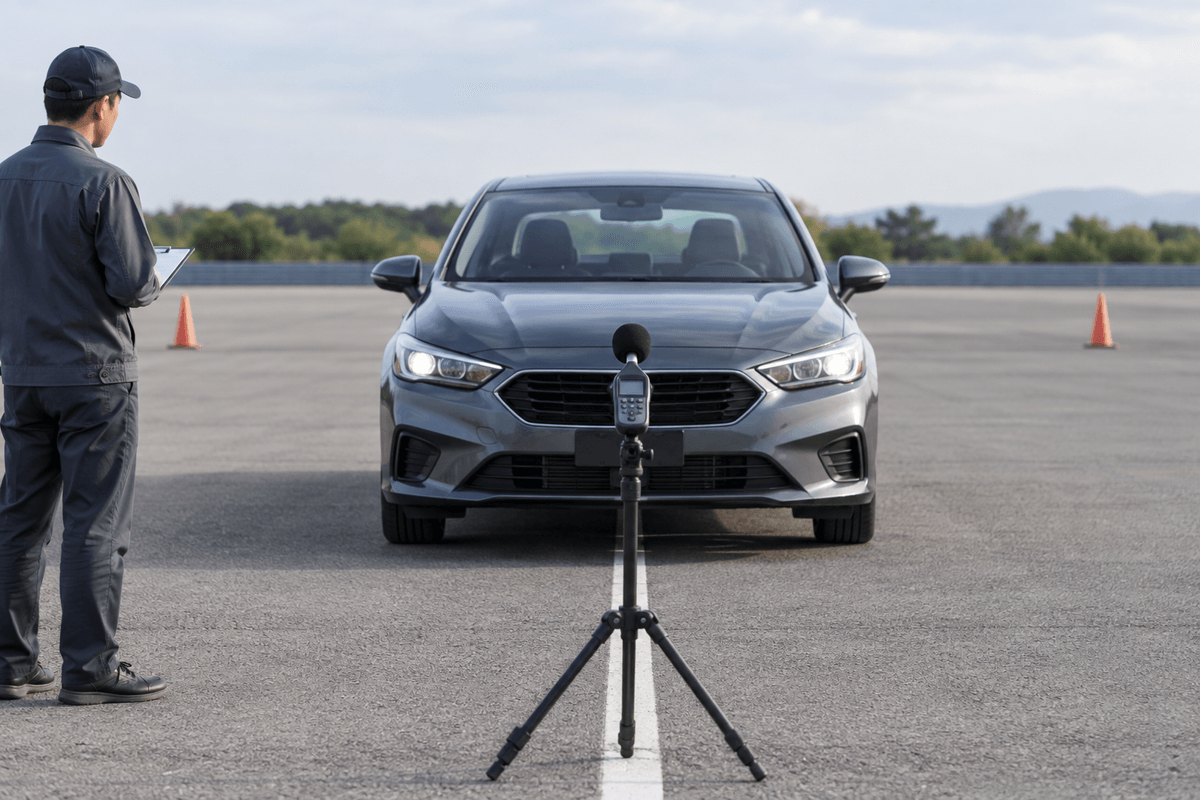
Sound pressure falls as distance increases in an open field. A close workshop reading will usually be higher than a measurement farther away. Hard walls and floors can reflect energy toward the microphone, while trim and body panels can shield an installed horn. A weak battery or voltage drop can reduce output, and an unstable bracket can absorb energy or create unwanted vibration.
UN Regulation No. 28 uses controlled conditions for audible warning device approval. Its test framework addresses acoustic environment, background noise, microphone placement, measuring equipment and rated electrical conditions. This is why a phone application held near a horn cannot confirm a regulatory value or fairly compare products.
OSUN Markings Are Starting Points for Verification
The OSUN ODL-151 disc horn has reviewed product imagery showing 12V, 3A and 110dB, with 420Hz and 350Hz variants. The ODL-161 and ODL-162 snail horn images also show 110dB markings together with 12V, 4A and 500/400Hz variants. Buyers should confirm the exact SKU marking, measurement method and production tolerance.
OSUN sports horn pages may mention output up to 118dB, while visible markings reviewed on some samples show 110dB. That difference is a reason to request the current sample, certificate and test report—not to select the larger number. The rated voltage, microphone distance and whether the value represents one horn or a pair must be clear.
Build a Fair Comparison Test
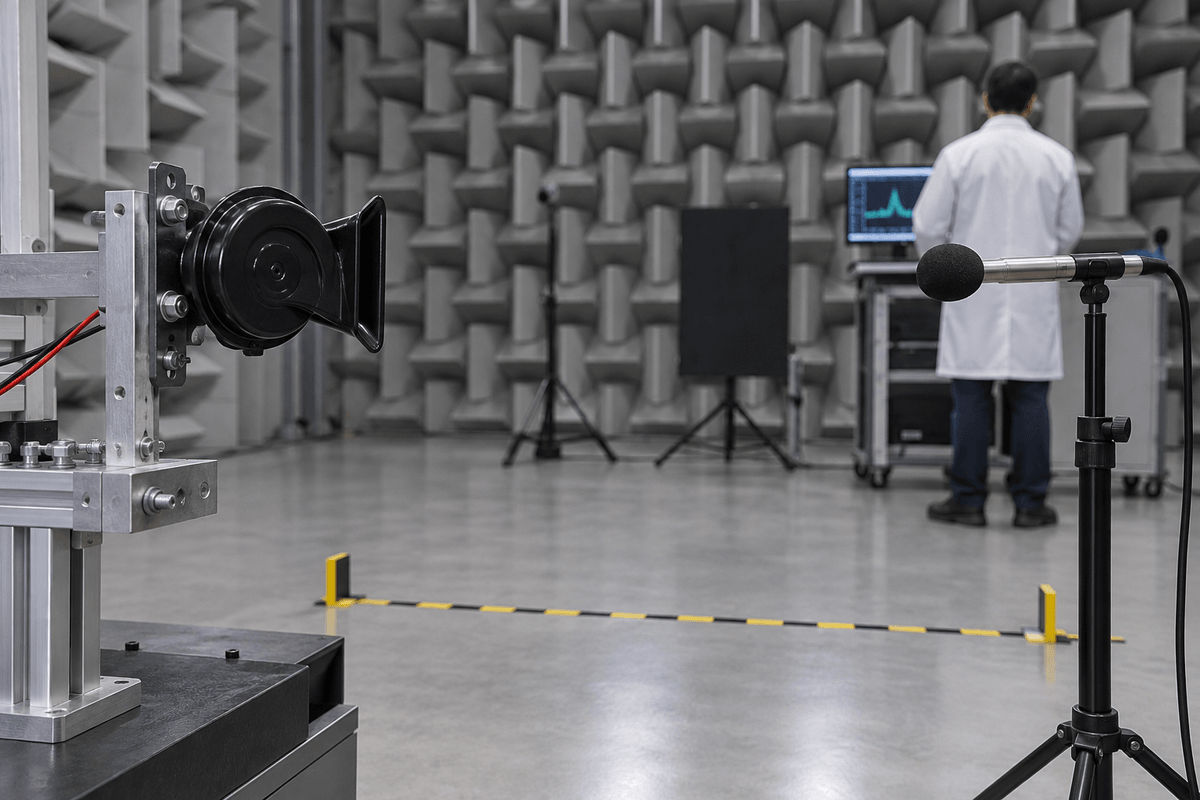
- Use a calibrated sound level meter suitable for the required standard.
- Keep voltage at the horn controlled and record current during activation.
- Use one rigid fixture and the same horn orientation for each sample.
- Set a fixed microphone distance and height, then document them.
- Control background noise and avoid reflective walls where possible.
- Record A-weighting, time response, peak selection and test duration.
- Repeat measurements across several samples instead of selecting one best unit.
Loudness Alone Does Not Define a Good Horn
A useful warning must also have stable tone, fast response, suitable frequency content and reliable operation. Excessive current or a distorted tone can indicate poor adjustment or electrical problems even if the meter briefly shows a high number. Product selection should include endurance, corrosion, water exposure, connector quality, bracket strength and batch consistency.
Legal requirements also differ by market and vehicle category. A loud aftermarket horn may be unsuitable if its sound character, installation or approval does not meet local rules. Confirm current requirements with the destination authority and do not treat one catalog dB value as global compliance.
From Bench Result to Installed Vehicle
After bench comparison, install the preferred sample in the target vehicle. Check the outlet is not blocked, the bracket is secure, drainage is correct and voltage at the operating horn remains within specification. Measure from the required vehicle position if a standard calls for it. This second stage catches shielding and wiring problems that a free-field component test misses.
OSUN’s product range covers compact disc, snail and sports designs with different sound and fitment characteristics. Buyers can request sample-specific acoustic evidence and drawings through the contact page.