
A disc horn can fit inside the available space and still leave too little room to seat or release its connector. A shallow body improves packaging options, but the terminal orientation, plug shape and harness path determine whether the installation can be completed and serviced. Use that interface to define what the factory must sample, what purchasing must specify and what receiving must check on each shipment. The aim is to agree one repeatable configuration before committing to bulk supply.
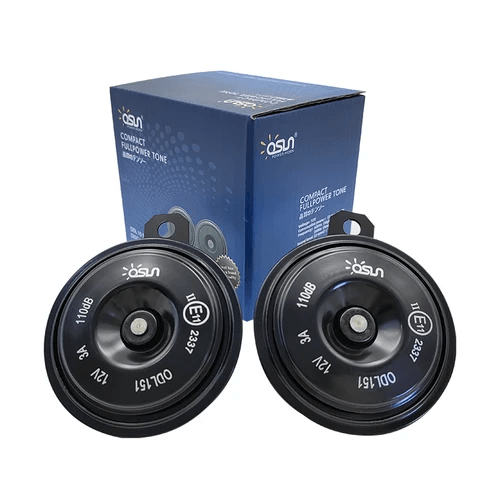
Put the disc horn connector on the fitment drawing
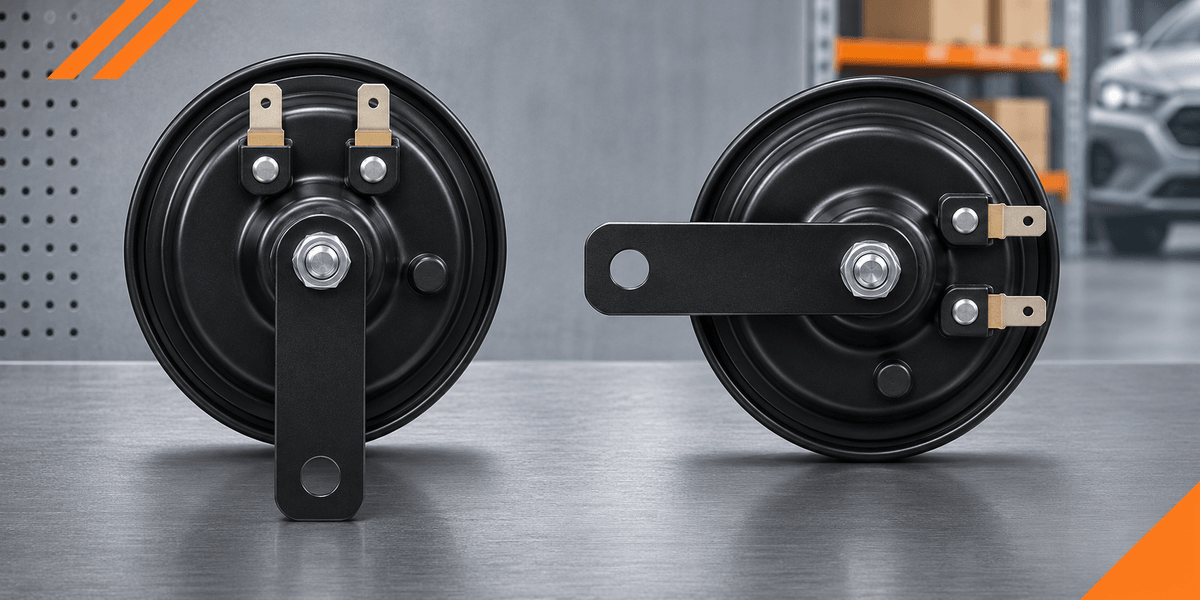
Start with the exact part number and identify the view used in the supplier drawing. Show the bracket mounting hole, the terminal side and the direction in which the plug moves during insertion. Where the available drawing shows only the metal body, request a connector profile or an actual sample with the intended plug. The clearance the installer needs extends beyond the outline of the horn itself.
Record which bracket version is used. A change in its angle can rotate the terminals relative to the vehicle even if the installed center of the disc horn is unchanged. If your team uses photos, include a side view and a view along the insertion path so the reviewer can see what lies beside and in front of the plug.
Check both insertion and removal
Fit the disc horn sample in the intended position with the applicable vehicle-side connector. Verify that the connector can reach its intended seated position following the manufacturer’s instructions. Confirm that the technician can see or otherwise verify the connection and access the release feature. This is especially useful where the connector faces a fixed body panel.
Record the sequence needed to reach the plug. If service requires access before another panel is installed, write that down and check it against the service plan. If the horn and connector can each fit separately but cannot be connected after the horn is mounted, the parts can still be unsuitable for the planned assembly. Capture the first point where access is lost instead of forcing the connector.
Review the resting position of the harness
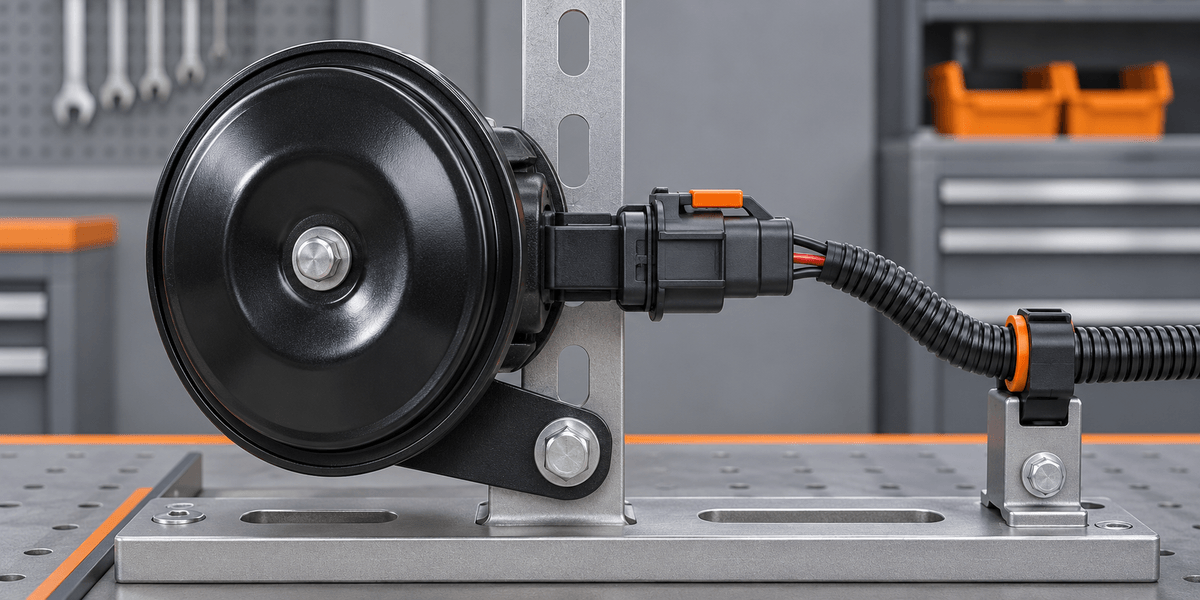
After seating the connector, inspect how the lead sits in the final arrangement. Check whether the harness can follow its intended route without pulling sideways at the connector or touching a sharp edge. Use the specified supports and retainers in the trial. If a sample requires a temporary tie or a different path to stay clear, record the difference before accepting it.
Look for parts that move or are installed later, and review their relationship to the disc horn connection using the vehicle’s installation requirements. A harness that clears the fixture may be close to a component in the fully assembled vehicle. Keep a photo from the final trial so receiving staff can recognize the expected orientation without reconstructing the entire install.
Ask the factory to quote each terminal and bracket option separately
A supplier may offer a different terminal orientation, a different connector body or an adapter. Treat those as separate options in the comparison record. The same disc horn outline can be part of more than one approved combination. An adapter that mates with the vehicle plug may still add depth or change where the lead turns.
For model shortlisting, use the OSUN automotive horn range and request dimensions for the exact option under review. Include both mating components in the approval sample where the order covers an adapter. If the adapter is outside the purchase scope, identify the reference used to prove fit so the sample result can be repeated.
Worked example: enough depth, limited release access
Suppose a disc horn clears a reinforcement beam after mounting and the connector seats normally. When the technician tries to disconnect it, the release feature is too close to the beam. Document the interference with a side photograph showing the plug and surrounding geometry. Record whether the planned service sequence allows access with a panel removed, and ask the application owner to confirm the acceptable solution.
If an alternate bracket positions the plug away from the beam, check the complete assembly again. Compare terminal access, body clearance and harness routing in the new orientation. A bracket that improves release access can move the horn or connector closer to another component. Capture the conditions that passed, including the version of each item tested.
Lock the approved disc horn combination in the purchase order
For bulk orders, record the disc horn part number, approved terminal orientation, bracket version, mating connector and sample date. Attach the drawing and installed photograph to the purchase item. Include an inspection note that describes the visible orientation from an unambiguous reference, such as the mounting face. If the assembly can be reversed, identify left and right arrangements separately.
Name the drawing revision and factory reference on the purchase order. List the bracket, terminal orientation and adapter as separate order attributes. Ask the manufacturer to acknowledge the configuration before production. At receiving, compare the visible terminal orientation, bracket marking and accessory reference with the approval record. Agree on when a supplier change triggers fitment review. A connector supplier change, bracket revision or altered lead exit may justify repeating the affected checks. If two options are approved, give receiving staff the correct identification for both so they can tell an approved alternative from an unreviewed substitution.
Questions about terminal access
Is a compact disc horn always easier to connect?
A smaller body can leave more room for the part, but access still depends on the plug and its direction of travel. Check the space with the actual mating connector and nearby trim in place.
Is a photograph enough to approve terminal access?
A photo can show the orientation and surrounding space. Use an actual connection and removal check to establish whether the installer can complete both steps. Save the photo as evidence of the tested setup.
What should I include if the supplier proposes another bracket?
Send the available mounting space, connector drawing and the observed point of interference. Ask for the proposed bracket revision and a sample of the complete combination. Check that the new arrangement supports the intended route for the harness.
Request a factory quote for the approved disc horn
Include the disc horn model, bracket orientation and vehicle-side connector when asking about a replacement or alternate configuration. A marked photo or section drawing helps the supplier see where the plug needs room and what the approval sample must demonstrate.